Thursday, September 6, 2012

The end result

The flash photography makes the grill frame stand out unnaturally.

How do they sound?
Well, it's subjective of course, but I would describe them as "very clean sounding, with a very open top end and a competent bass".  They are only bookshelf size, so the bass is not penetrating at all, but it is fine for normal listening.  For Jazz with saxaphone solos (think Charlie Parker) they are brilliant, for Pink Floyd competent.  Orchestral sounds very nice, with great clarity.


Final assembly

Not much to say in final assembly, other than all panels were sealed with either polyurethane (around the corner braces) or black silicone for he drivers, baffles, rear panels and terminals.
The grills are held in with velcro stapled to the baffles and grill frame.
The inside was filled with acoustic fibreglass, the type of batts you use for wall insulation.
Strips of felt were placed around the tweeter for the 'anti fringeing' effect, but mainly to look genuine.

View from the rear


Front view before velcro and tweeter felt added


Filled with Fibreglass

Inside the back panel

The Crossovers

As mentioned at the start, the BBC design used 3rd order Butterworth crossovers.  These were also fitted with extra adjustments for various 'characteristics' of the drivers BBC used, an anti ringing circuit and an adjustment to match the bass & treble driver sensitivities.

In my design I figured I would not have the means to measure driver response well enough to match them, and I did not have any specific driver 'characteristics' to compensate for, so these extra features were not needed.  The basic 3rd order Butterworth set for 3kHz cross over is as follows:

The capacitors used were 150v polyester except for the 15uF & 4.7uF which were bipolar electrolytics.
the inductors were 'roll your own' wond with 24g enamel wire on cotton reels.  The number of turns was calculated from online resources and checked with a multimeter with inductance range.  The capacitors, as can be seen beside the circuit, were constructed from 3 values in parallel, and checked with a capacitance meter.  Yes some adjustments were necessary so final combinations were a little different to the theortical values shown above.
A quck check with an audio oscillator and oscilloscope showed all was well, and ready to assemble in the enclosures!

The crossover built on vero board.

Finishing the Wood

There is quite a lot of time consuming fiddling to complete the woodwork off.
The grille frames are easy, just some more 12mm square hardwood with 45 degree mitre corners.
The spotted gum was sanded back to a clean finish, removing any remaining planing marks from the raw dressed finish of the boards.  Starting out with 200 grade, and finishing with 400 grade paper.  4 coats over as many days of Danish Oil was then applied.  After this was well dried, a polished finish using a heavy furniture wax was applied.  The result is a natural gloss and pleasingly smooth finish to the touch.
To be honest, the mitre corners gave some grief.  Not surprisingly the angles cut by the hand saw were not perfect and applying a little putty in the gaps seemed in order.  However, getting a good colour match was not easy, and it took me a while to figure out how to mix different pots of putty and add a little staining colour to get it right.

The baffles and rear panels were sprayed with a couple of coats of satin black.
Felt pads applied to the base, and the grill cloth stretched onto the frames and stapled into place.

A rear cover with terminals fitted.

Woodwork

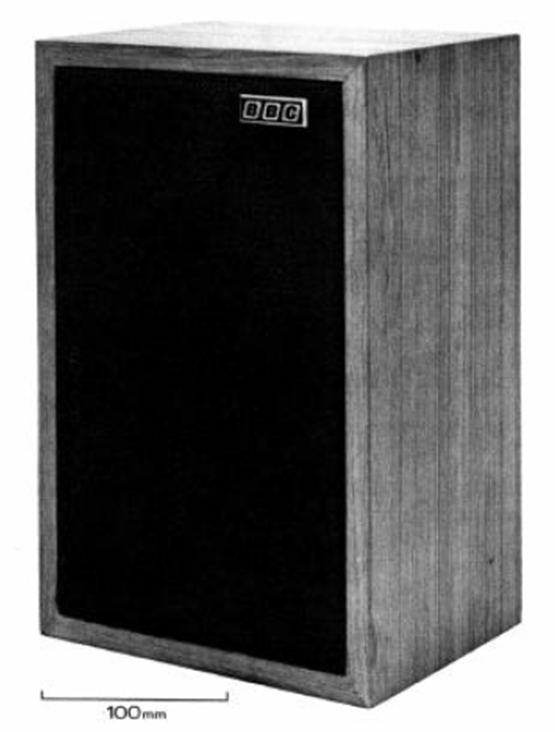
The original BBC units were built from 12mm Birch ply with Beech fillets.  The size of the enclosure is set primarily to fit the 5" bass driver with the tweeter occupying a smaller space in the top of the baffle.

A quick survey of available driver units led to minor upgrade replacing the 5" originals with currently available 6.5" bass drivers and 1" dome tweeters.  The box would need to be increased in size to suit. To keep to the proportions of the original design, so it looks right, all dimensions were increased appropriately.  I would need some boards, preferably Australia hardwood about 8" wide for the box.

Down at the local boutique timber yard a couple of beautiful pieces of Spotted Gum were found. 8" wide boards 1.5m long, oh yes, and 25mm thick.  Spotted Gum is historically used for heavy construction, and still commonly for axe handles.  It is tough stuff.  I figured that as a speaker box material, in 25mm thickness, it should be virtually resonance free and not need any bracing.  To keep the external appearance in keeping with the original LS3/5As the front and rear edges of these monster boards would have to be rebated to 12mm where the back panel and front grill frame fits in.

Preparing the boards with my available tools was a little challenging.  I chose to join the corners with plain 45 degree miter joints.  As the boards were 25mm, the width across the miter is 36mm which was too long for my 45 degree router bit.  My only (power) cutting tool is my 7" hand saw, so I was going to have to use that.  Setting up some guide rails to ensure straight, square and accurate cuts was essential, as was a new 40 tooth blade for the saw.  My first couple of cuts were nice, but not 45 degrees.  The saw would not adjust out that far, missing by a couple of degrees.  Not good. The solution was to disassemble the adjustment screw and replace it with a smaller screw that allowed the angle out to 45 (determined by trial and error).  Once correct adjustment was found the dodgy screw arrangement was locked in with a cable tie around the slide.  I hope you have a better saw or machining equipment.

With the sides tops & bottoms cut it was time to route the front and back rebates.  With a nice chunky router and new 19mm square end bit a wide rebate for the front and a shallower one at the back can be cut.  I was amazed at the quantity of sawdust this process generates, the shop vac got a big workout.

Next the front baffles and rear cover can be cut.  The front baffles have to be routed to take the bass drivers from the rear and the tweeters from the front.  There may be a way to jig this and get perfect circles, but frankly I couldnt figure it out.  I just marked the circles and slowly guided the router around.  The result was quite acceptable.

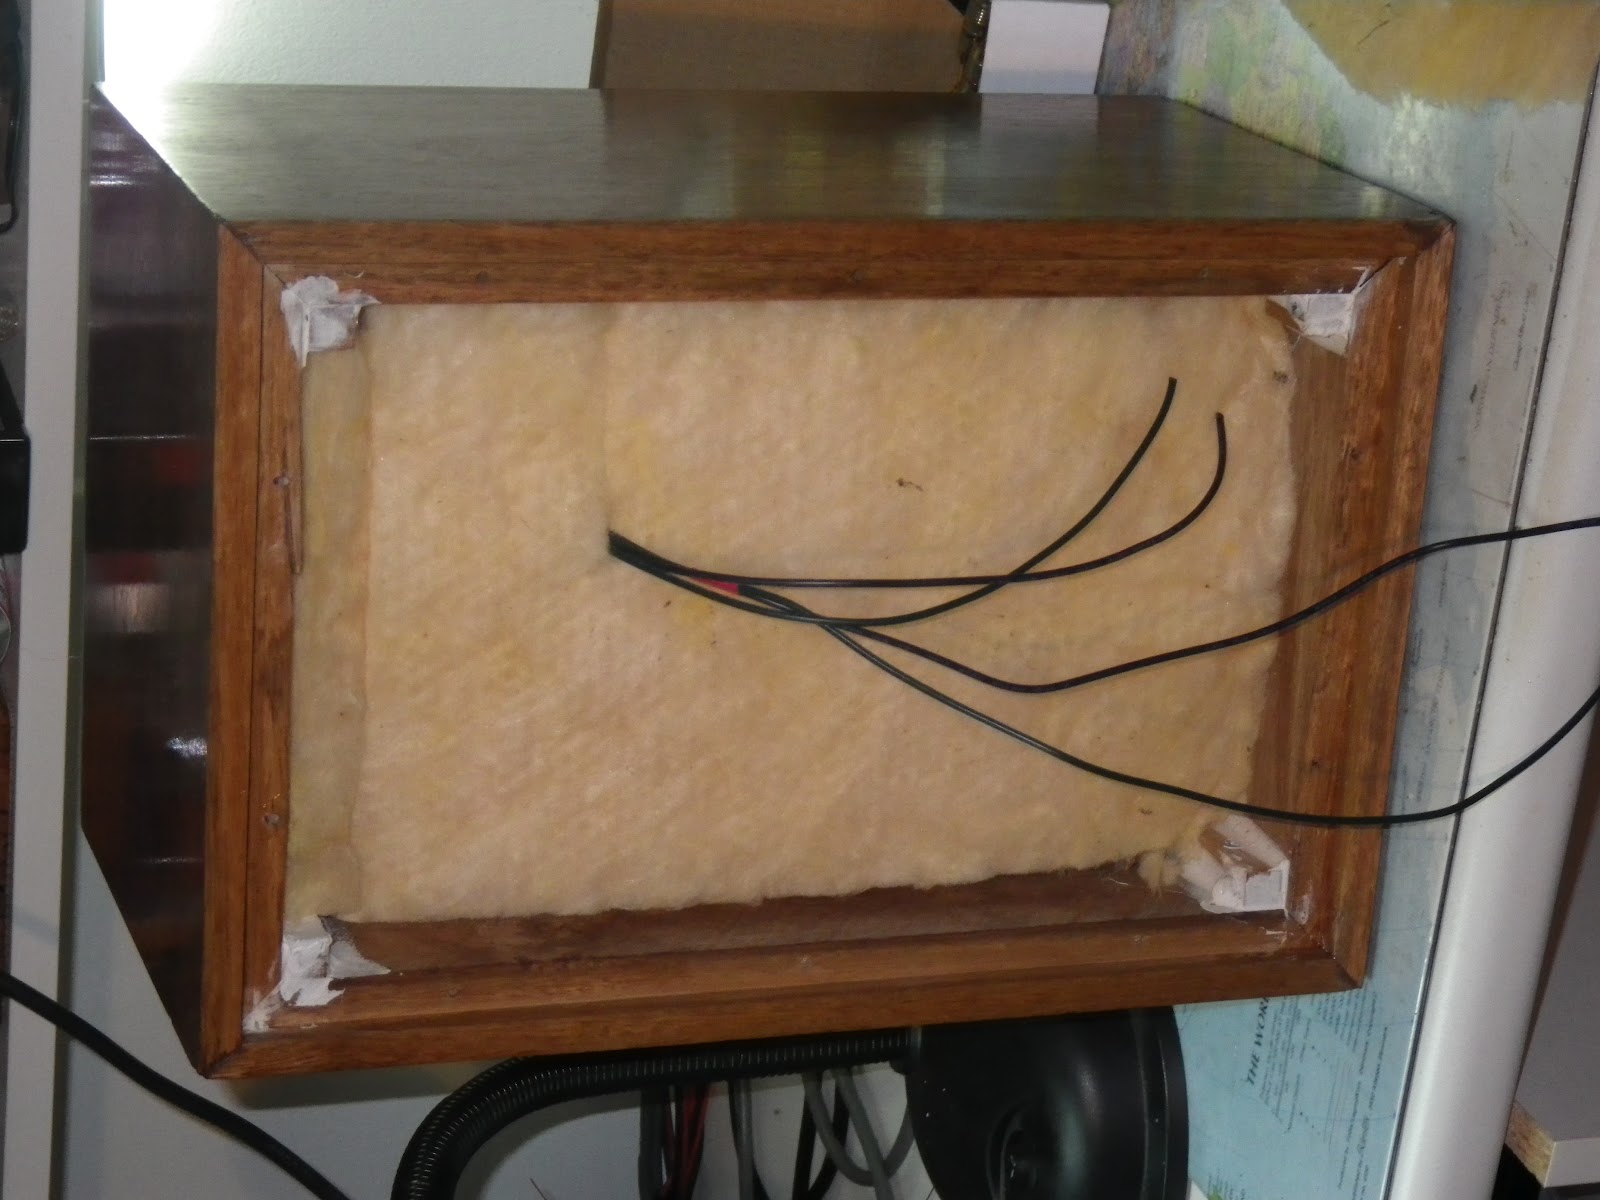
Next the box can be assembled.  After some failed juggling I realised I needed some sort of bracing to hold the sides in place.  I settled on inserting a piece of 12mm square hardwood in each corner and drilling to take screws internally in each direction.  Clamping with the baffles and rear panel in place was then used to keep things square while the glue set (high strenghth epoxy).

Starting out

After a friend posted a copy of the original 1976 BBC LS3/5A design report, I thought it might be an idea to try and replicate this design using available or home made components and see if a pleasing result could be achieved.

The original LS3/5A is a straightforward design.  A fully sealed 310x190x160 mm box houses a 5" bass driver and a 3/4" dome tweeter.  A passive crossover (3rd order Butterworth, 3kHz) links the two units.

Getting started was easy, I needed a parts list, or Bill of Materials (BoM).  The breakdown of the sub sections is like this:

  • Woodwork - Shell, baffle, back, grill frame
  • Drivers - Bass, treble units
  • Crossovers - capacitors, inductors, wiring board
  • Miscellaneous - terminals, cable, grill cloth, felt, oil, paint, velcro, badges, screws, glues, putty, polish
I began by purchasing the major components and starting into the woodwork.